Amazingly, your Mac has only just gained the ability to show you a full list of what you’ve copied. macOS has always allowed you to copy and paste items, but if you copied multiple items back-to-back, there was no way to view the earliest items you added to your clipboard. Sure, third-party apps have filled this gap for many years now, but macOS itself didn’t allow you to easily view multiple items stored in the clipboard, until now. With macOS 26 Tahoe, your Mac’s Spotlight search has added support for clipboard history, which means that you can view pretty much everything you’ve copied in the past 30 days. Here’s how to set up and use clipboard history on your Mac.
How to enable clipboard history on your Mac

Credit: Pranay Parab
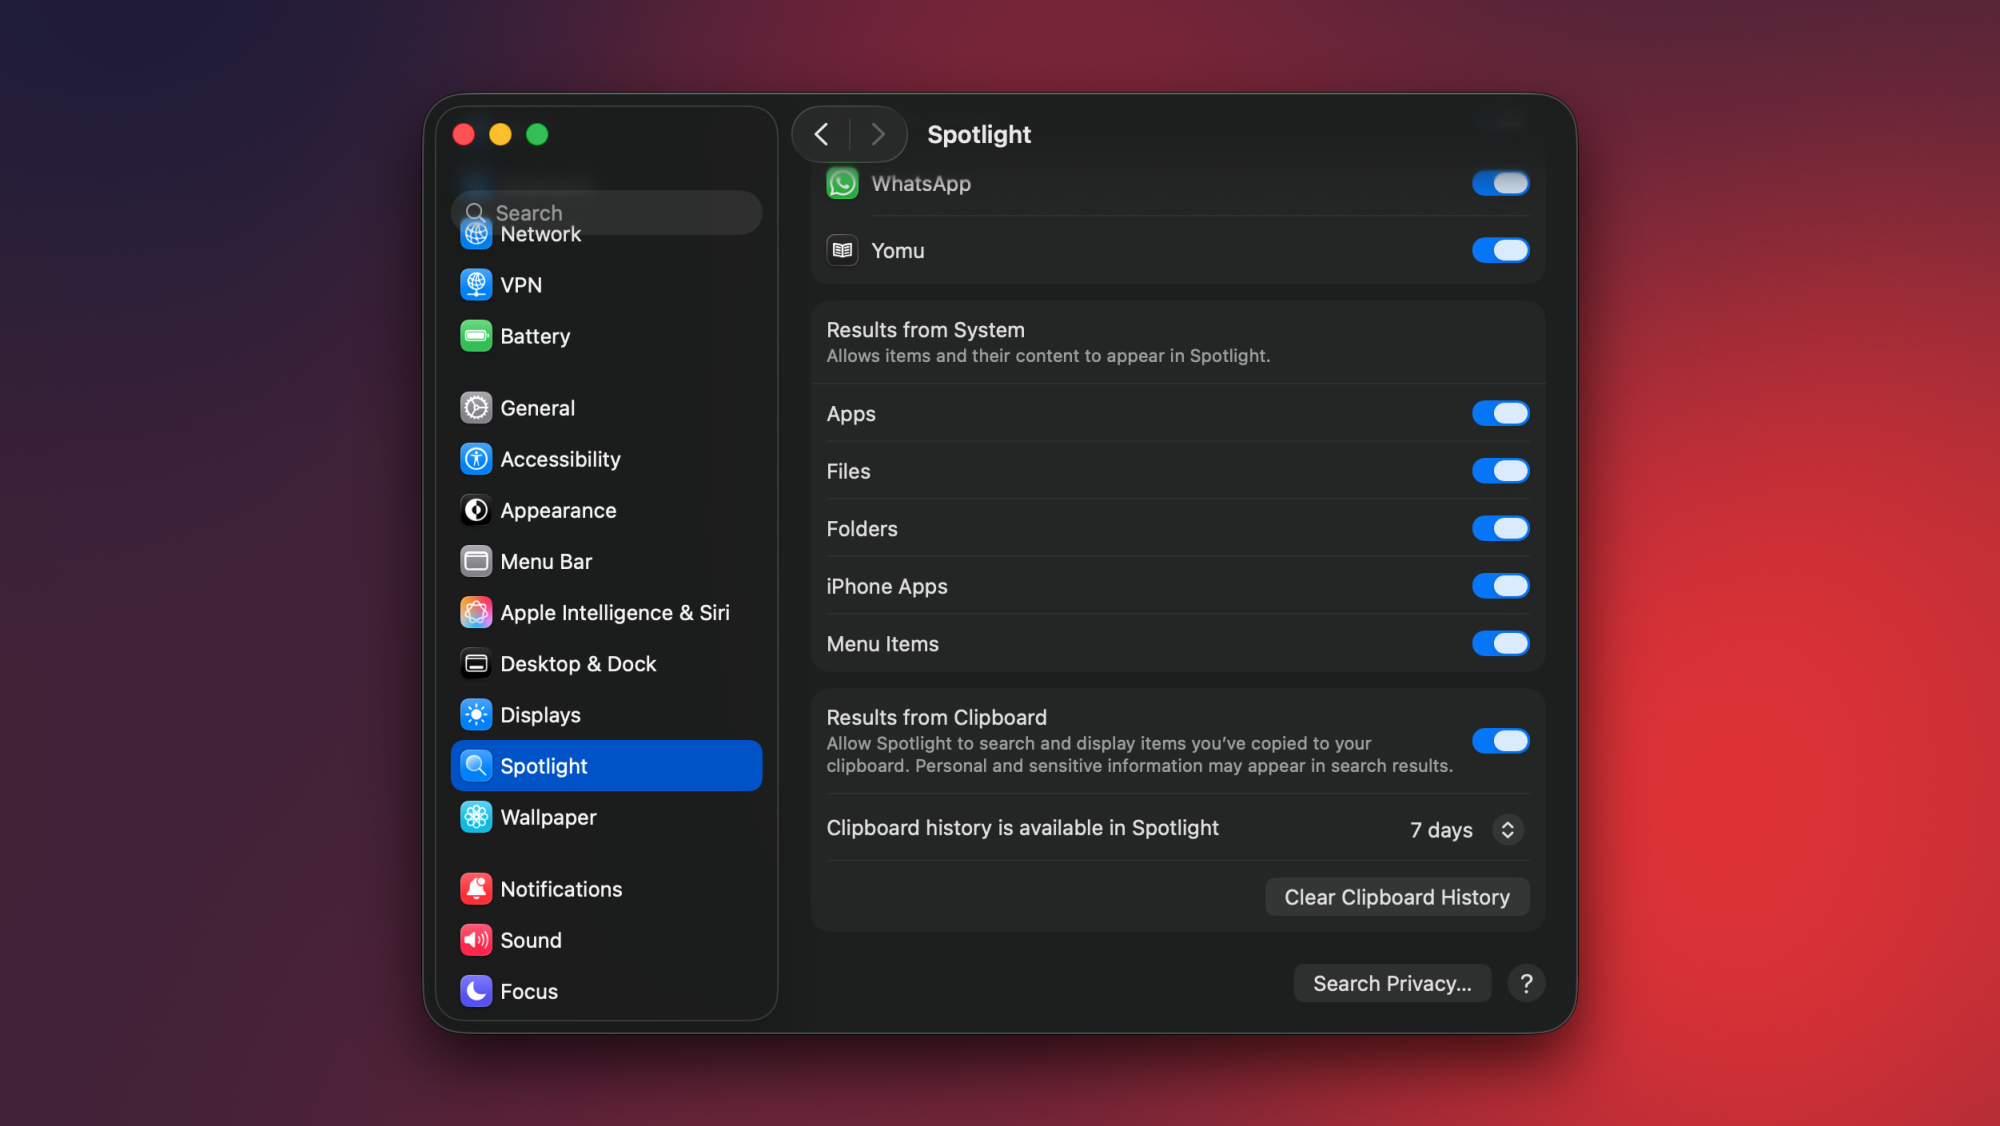
Clipboard history is disabled by default on macOS Tahoe, so you’ll have to activate it first. To do this, click the Apple logo in the top-left corner of your Mac’s display and select System Settings. Now, go to Spotlight and scroll to the bottom in the right pane. Enable Results from Clipboard, and then click the drop-down menu below it. This lets you choose how long you want to store your clipboard history for. Apple gives you three choices: 8 hours, 7 days, or 30 days. Once you’ve made your choice, you’ll be ready to use clipboard history on your Mac.
If you copy sensitive items to the clipboard very often, you should probably avoid enabling this feature. I know many people who somehow still store passwords, credit card information, and other banking details in WhatsApp chats or plain text files. The moment you copy sensitive data from unsecured locations, it gets added to your clipboard history, which is not ideal. The good news is that if you copy passwords from Apple Passwords or other password management apps, they don’t appear in your Mac’s clipboard history.
Accessing and using clipboard history on your Mac

Credit: Pranay Parab
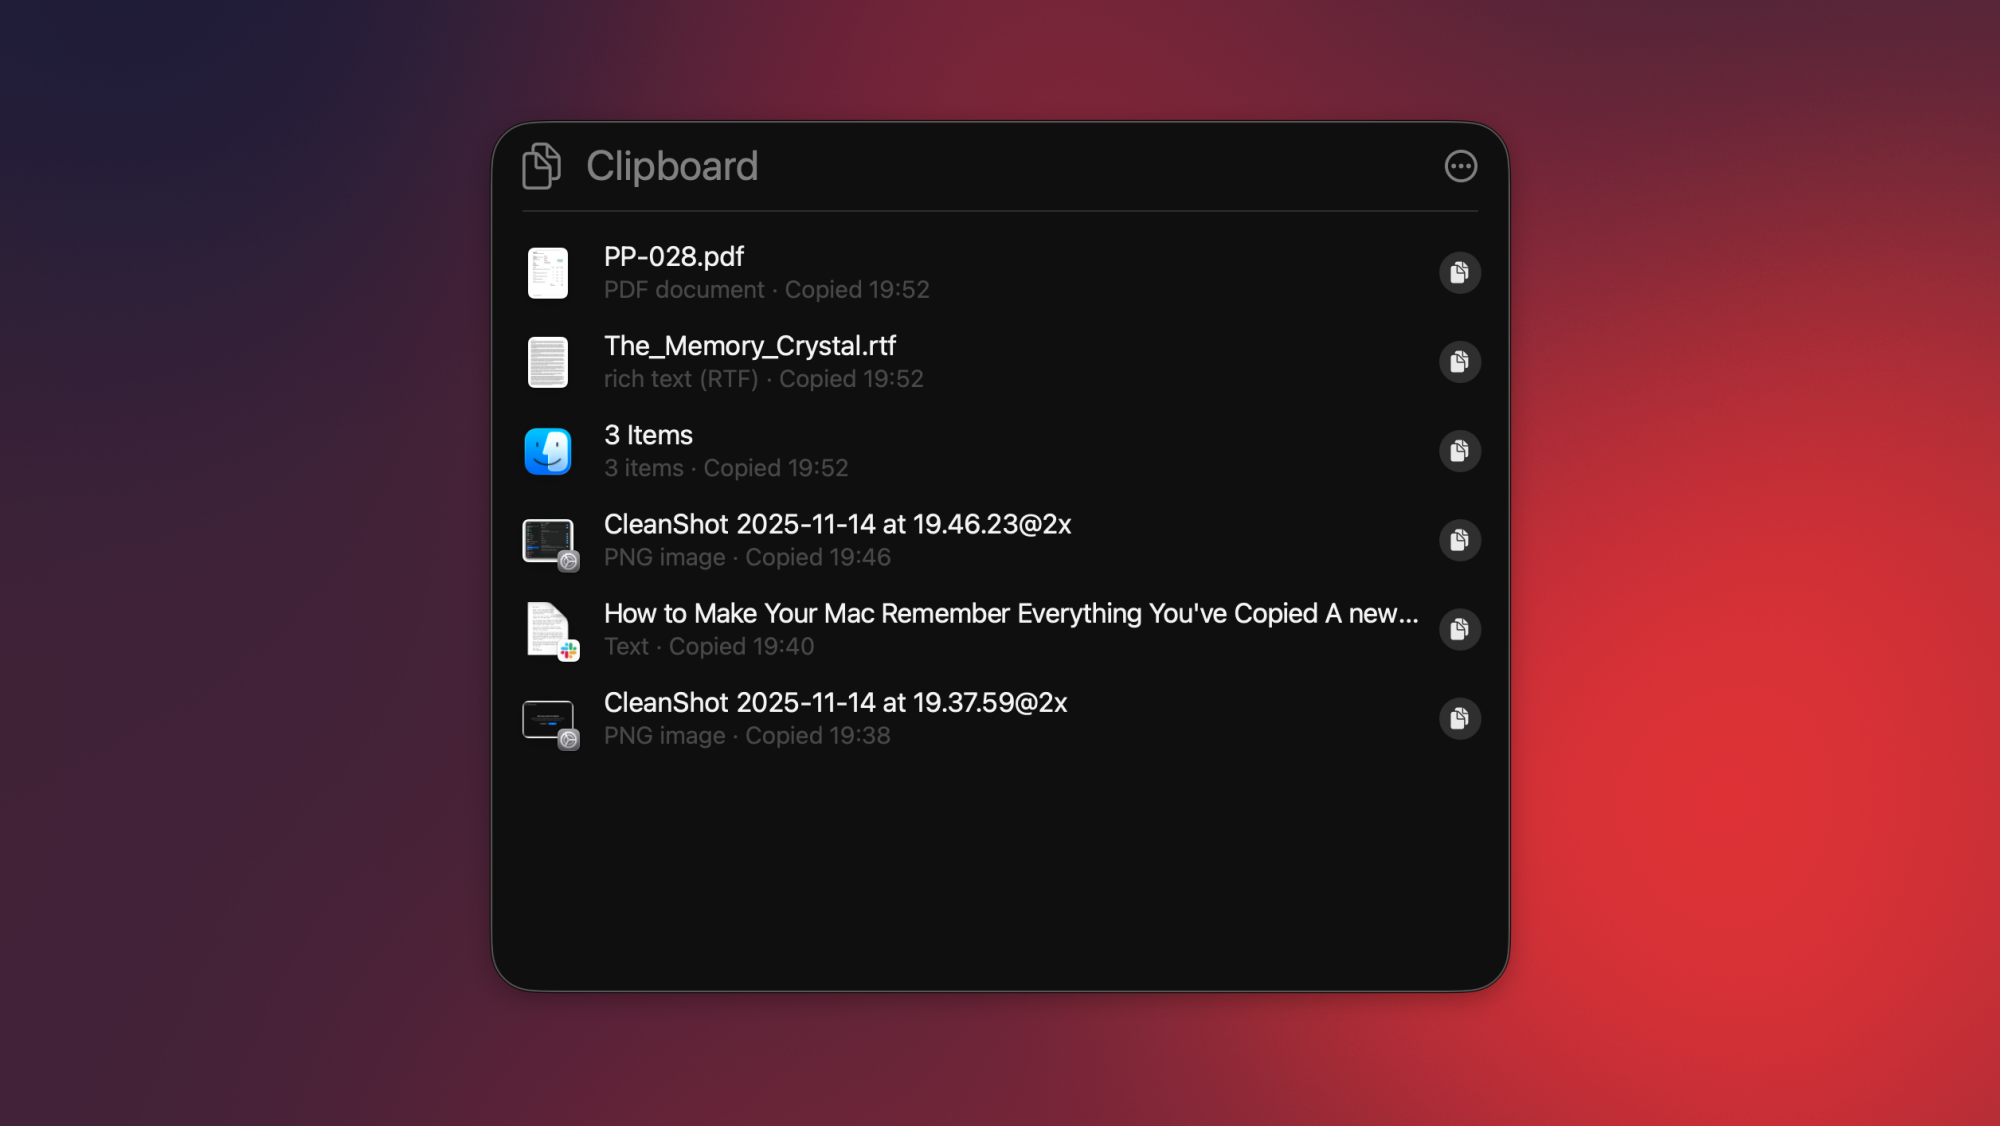
You can access your Mac’s clipboard history by using macOS Tahoe’s Spotlight Search. First, copy a few items to your clipboard. These can be text, photos, or other files. Use the Command-Space keyboard shortcut (or click the magnifying glass in your Mac’s top-right corner) to open Spotlight, and press Command-4. This will open your Mac’s clipboard history, where you’ll be able to see all the files you’ve copied recently.
To see older items, scroll down. Next to each item, you’ll see a small copy button, which you can use to copy that item to your clipboard once again. This is useful if you’ve copied multiple items in a row, but forgot to paste the first few. You can also select any item in your clipboard history list and press the return key on your keyboard to paste that item in the app that’s in the foreground.
If you want to quickly clear your clipboard history, fire up Spotlight (Command-Space), followed by the clipboard history page (Command-4), and select the three-dots button on the right. Select Clear History here to erase your entire clipboard. Or you can simply wait—Apple will automatically erase everything in your clipboard after your preset time limit (between 8 hours and 30 days, depending on what you chose in System Settings).
Third-party clipboard management apps are better

Credit: Pranay Parab
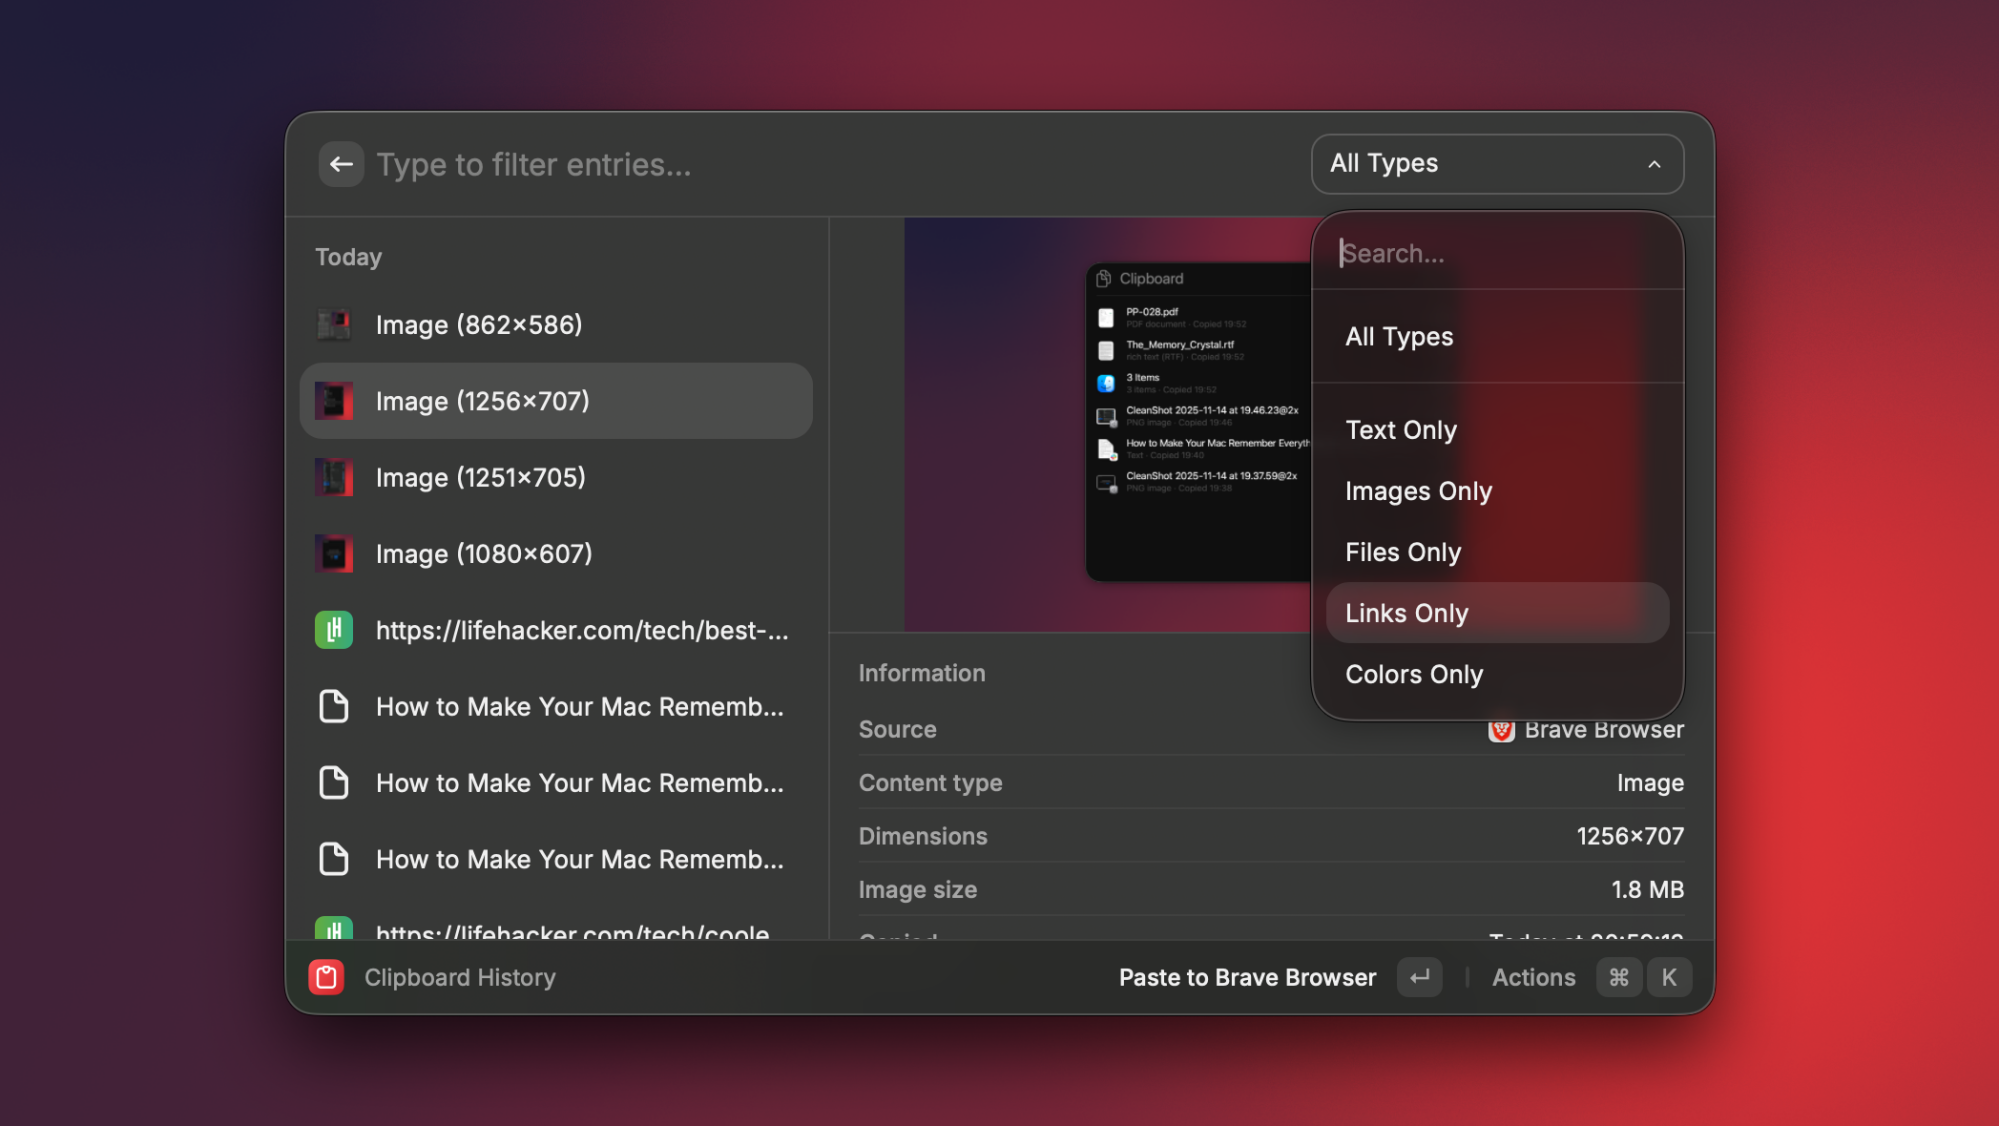
I’m aware that some people don’t use Spotlight at all, in favor of better alternatives like Raycast or Alfred. Luckily, those apps come with built-in clipboard managers, too. Spotlight’s implementation is good enough for basic use cases, but it needs a quicker way to access and paste from your clipboard history. While clipboard history in Spotlight is a nice upgrade, I still feel that if you’re serious about clipboard management, third-party alternatives are the way to go.
The best clipboard managers for Mac will allow you to sync your clipboard history across multiple devices, let you exclude certain apps from your clipboard history, filter clipboard items by type (links, text, images, etc.), copy multiple items and paste them sequentially (useful for filling repetitive forms), extract and copy text from images, and so much more.
